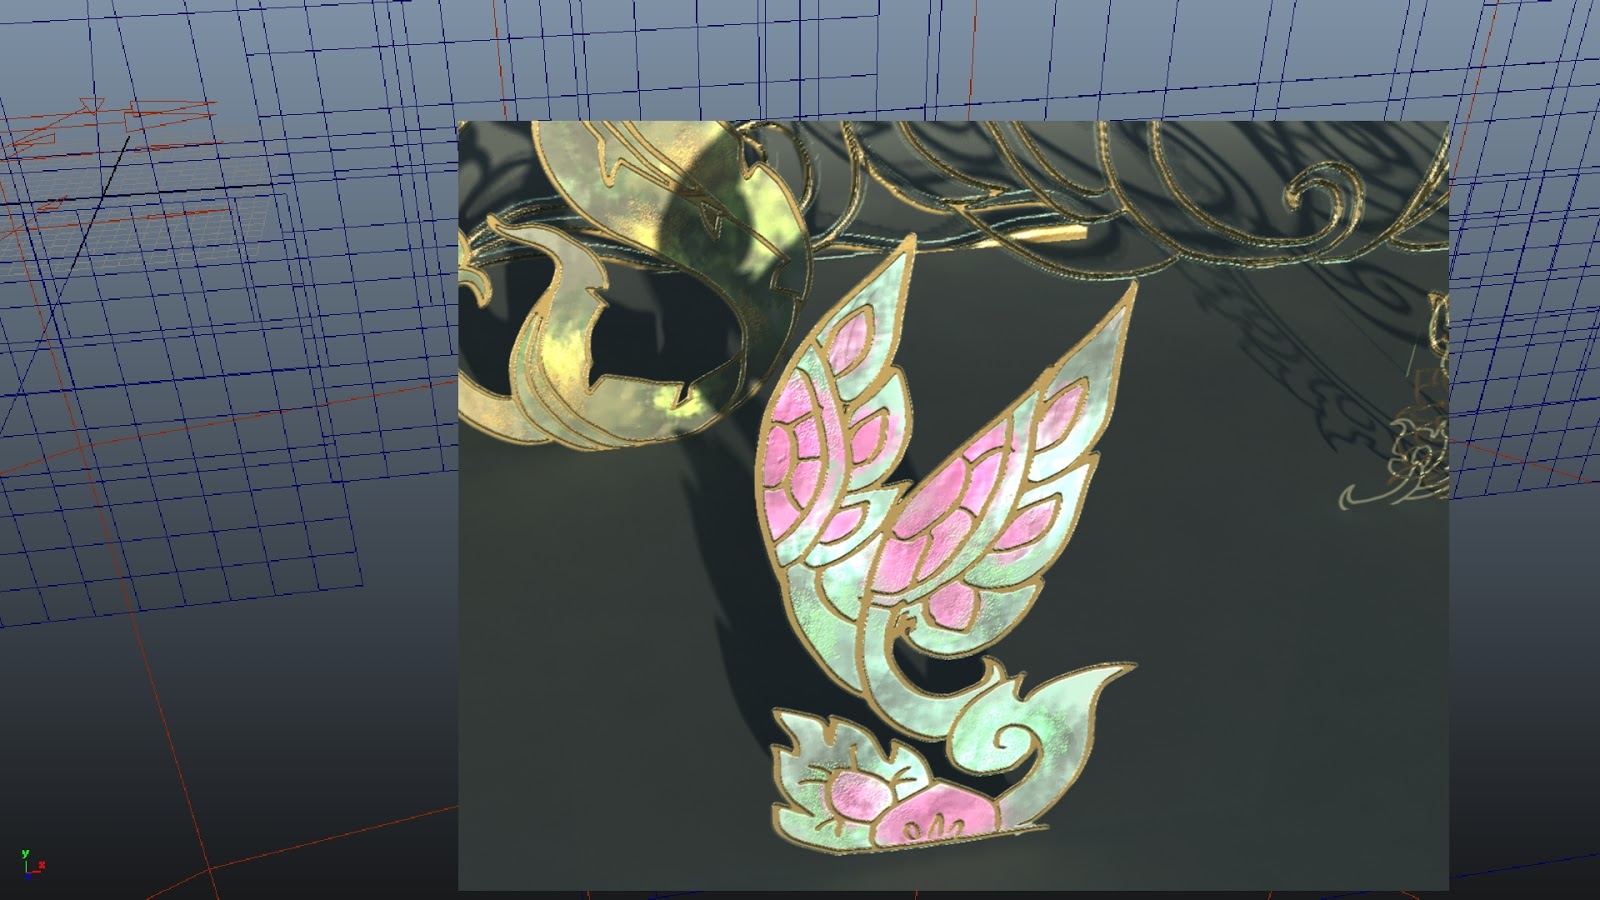
Hope everyone had a great Christmas! A friend's little westie dog joined me and my flatmates during our Christmas holidays and I thought it was a great opportunity for me to observe the dog's behaviour and movements. I've put together a short video starring Snowy with notes on her movements which will be a great help for me when I start animating. It was a nice break from my current skinning.  I will update my progress with Hemmy's rigging and skinning very soon after I complete it.


I also observed how her skeleton bent and deformed in different poses.

Hey, guys. Ignore the stretched texturing, this is turnaround mainly to analyse the character with some of the improvements that were laid out from previously and from today. I've extended the length of the crown model, hip wings and tail planes. So arranging and editing the geometry. Texturing is much more native to the colour palette in this version. Experimented golden and warm hues, but it will probably be taken back in to Mudbox to be sorted out.

I'm not sure how to approach the fur surrounding the thighs and gradual decreasing to the legs. At the moment it is extruded edge planes but I'm thinking of duplicating the thigh geometry and having flat fur textures with transparency options. Perhaps have a couple of these building up and offsetting textures to give it a bit of depth?


Hemaraj's Texturing Progress 2

The last week has been very challenging in terms of transferring the detail sculpted from Mudbox to work back into Maya. I experimented with Displacement as well as with Normal Maps but the latter didn't seem to work as it created deep shadows and roughness on the model. 
I used my own stencils to sculpt details around Hemmy's 'mane', his necklace, his bracelets, tail and ornamental 'flames'. I am pleased with it so far but there is much more that needs to be done to perfect him. I am not settled with his colour yet but that is something that will be looked into as soon as both characters are put together in one scene with the environment. 


This afternoon/ evening, progress in Mudbox has been happening and things are underway. This is mainly a lot of experimental creation, having stripped back on the hip and tail feathers and hair planes for now. The crown has been tidied, though it's design on basis is lurking somewhere between genericism, armoured visor, and Thai theme. May have to restrict some colour. Whereas previously in one of the Kinnaree concepts the colour is predominantly warm hues with golden blends, the specularity tests now function to introduce Thai blues to areas of the body. The impact of the specularity might be tuned down, however. The incandescent skin crest is mainly to inject a bit of magical energy/ aura into the character and express some ethnic radiance. Not sure if this will initially work without any combined environment and character render tests. The design is subject to change as it is also looking slightly generic, although this was derived from a Lai Thai shaped origin. In Maya, diffuse and normals have been plugged into what I would consider a rather messy sub-scattered hypershade node, but, it is beginning to show tasteful and reassuring outcome. (Unfortunately, no screens to evidence this as of yet).

In the second image, by 'projection type' I mean the animated texture file type in Maya and not the texture projection painting method in Mudbox. It may or may not be desirable now that the environment has been experimented with and revised to a better form (you can see how I mean by taking a look at this recent post of the environment props). The idea of a projected texture moving on a part of the character might look boggling with all the enameling colours.  


Photobucket

 Photobucket Photobucket Photobucket Photobucket Photobucket Photobucket
I have been looking forward to Mudbox. One of the main techniques I have been eyeing up is multiple UV sets per element (mainly the character's body) whereby different areas of a piece of geometry can be separated into individual UV shells. This helps to balance out the textures and give sufficient room to allocate the different parts of the body (see fig. 6). Originally, condensing the UV's into one segment of the grid can bloat other areas of the UV's. If many maps have been created, the UV's all just become crammed and overfilled.

Diffuse and normals have been plugged into the sub-surface scattering, time to refine them and go from there.


Photobucket
PhotobucketPhotobucketPhotobucket Photobucket Photobucket

This is my progress so far on the environment. I am going to concentrate on my character from now on and get back to this after Christmas, hopefully. The next step with that will be to 'build' the forest and the surrounding matte paintings to avoid making it look so stage-like. Also work on the Z-depth to the environment the sense of depth.